How to Start a Poultry Farm: Beginner’s Step-by-Step Guide
Deciding to start a poultry farm is the easy part. Knowing exactly what order to do things in — and avoiding the mistakes that drain a beginner’s budget in the first month — is where most people get stuck. This guide breaks the process down into a clear sequence of steps, from initial planning to selling your first batch of eggs or birds.
Quick answer: To start a poultry farm, define your purpose (eggs, meat, or both), secure land and check local regulations, build predator-proof housing, source day-old chicks from a certified hatchery, prepare feed and water systems, follow a vaccination schedule, and set up daily management and record-keeping before scaling up.
Table of Contents
- Step 1: Define Your Poultry Farming Purpose
- Step 2: Research Regulations and Market Demand
- Step 3: Choose a Suitable Location
- Step 4: Build or Prepare Housing
- Step 5: Source Day-Old Chicks or Point-of-Lay Birds
- Step 6: Set Up Feeding and Watering Systems
- Step 7: Follow a Vaccination and Health Plan
- Step 8: Establish a Daily Management Routine
- Step 9: Plan Your Sales and Market Channels
- Step 10: Track Records and Scale Gradually
- Sample Startup Timeline
- Frequently Asked Questions
Step 1: Define Your Poultry Farming Purpose
Quick answer: Decide upfront whether you’re farming for eggs (layers), meat (broilers), or both (dual-purpose breeds), since this decision shapes your housing, feed, and timeline from the very start.
Layers take 18–20 weeks to reach point of lay but then produce income steadily for over a year. Broilers reach market weight in as little as 6–8 weeks, giving faster cash cycles but requiring tighter feed management throughout that short window. Trying to raise both without separating them properly leads to feeding and housing conflicts, so commit to one direction for your first flock.
Step 2: Research Regulations and Market Demand
Quick answer: Before investing money, check local zoning rules, livestock registration requirements, and whether there’s steady local demand for eggs or chicken meat in your area.
Regulations differ by country, and sometimes by district within the same country, so contact your local agricultural extension office or municipal authority to confirm what’s required. At the same time, talk to local egg sellers, butchers, restaurants, or market vendors to gauge realistic demand and pricing. Starting production without a sense of who will buy your birds or eggs is one of the most common early mistakes.
Step 3: Choose a Suitable Location
Quick answer: A good poultry farm location has proper drainage, distance from residential complaints about noise or smell, road access for feed delivery, and protection from flooding or extreme wind.
- Elevated, well-drained ground prevents damp litter and disease buildup.
- Distance from neighbors reduces noise and odor complaints, especially for larger flocks.
- Accessible roads matter for feed delivery trucks and transporting birds or eggs to market.
- Reliable water access is non-negotiable — chickens need constant clean water.
Step 4: Build or Prepare Housing
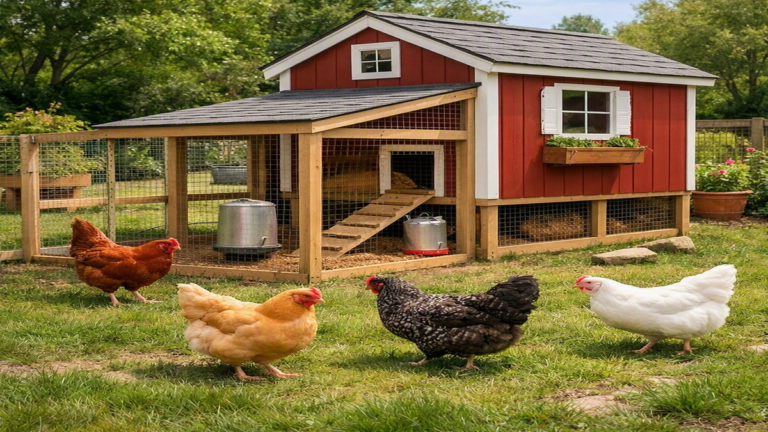
Quick answer: Housing should be built and fully ready before chicks arrive, with predator-proof walls, good ventilation, dry litter, and roughly 0.09–0.1 square meters of floor space per bird for layers on deep litter.
| Housing Element | Why It Matters |
|---|---|
| Ventilation | Prevents ammonia buildup and respiratory disease |
| Predator-proof walls and doors | Protects against rodents, snakes, and wild animals |
| Dry litter (wood shavings, rice husks) | Reduces disease risk and keeps birds comfortable |
| Adequate spacing | Prevents overcrowding, stress, and feather pecking |
| Roofing | Keeps rain out while allowing heat to escape |
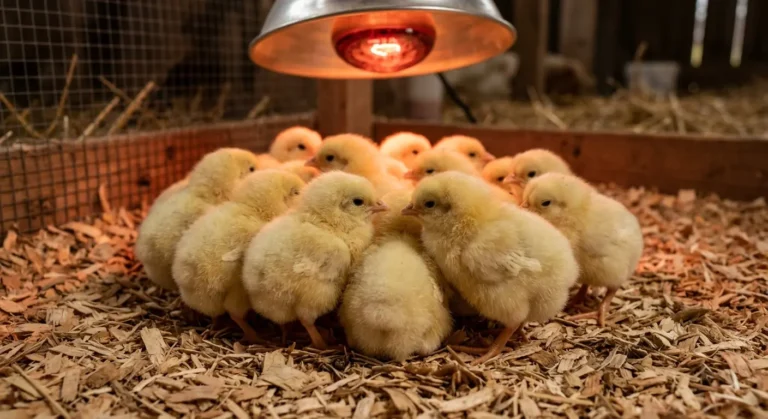
Never buy chicks and build housing afterward — this sequencing mistake leads to overcrowded brooders, chilled or overheated chicks, and avoidable early mortality.
Step 5: Source Day-Old Chicks or Point-of-Lay Birds
Quick answer: Buy day-old chicks or point-of-lay pullets only from a certified hatchery or reputable breeder, since chicks from unverified sources carry a higher risk of disease and poor genetics.
Ask the hatchery about their vaccination history, breed performance, and any health guarantees before purchase. For layers, ISA Brown, Lohmann Brown, and Hy-Line are common commercial choices. For broilers, Cobb 500 and Ross 308 are widely used for their growth efficiency. Availability varies by region, so confirm what a certified local hatchery actually supplies rather than planning around a breed you can’t easily source.
Step 6: Set Up Feeding and Watering Systems
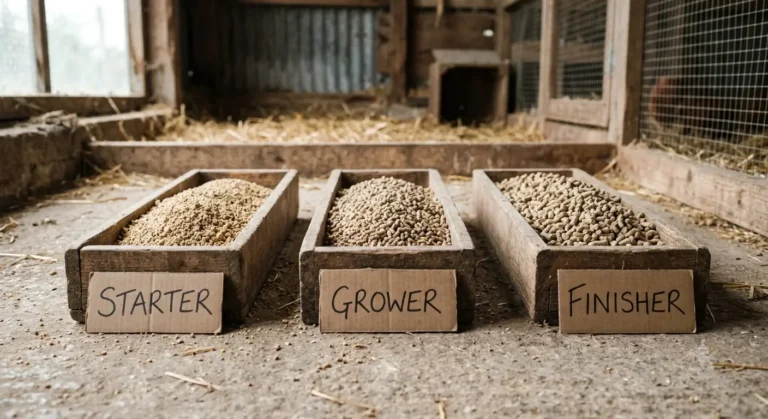
Quick answer: Provide age-appropriate feed — starter feed for the first 8 weeks, followed by grower and then layer or finisher feed — alongside feeders and drinkers positioned to prevent contamination and overcrowding.
- Use starter feed (around 20–22% protein) for chicks from day one to 8 weeks.
- Switch to grower feed for layers between 8 and 18 weeks, or finisher feed for broilers from around 4 weeks to slaughter.
- Move layers to a calcium-rich layer feed once they reach point of lay.
- Position feeders and drinkers at appropriate height as birds grow, and clean them daily to prevent bacterial buildup.
Feed typically makes up 60–70% of total production costs, so budget for at least the first 8 weeks of feed before you start, and buy from a supplier with consistent quality — moldy or inconsistent feed is a common cause of poor growth and illness.
Step 7: Follow a Vaccination and Health Plan
Quick answer: Work with a local veterinarian or livestock extension officer to set up a vaccination schedule for your region, typically covering diseases like Newcastle disease and infectious bursal disease (Gumboro), alongside strict farm hygiene.
Vaccination timing and disease priorities vary by region and disease pressure, so a generic online schedule may not match what your local flocks actually need. In addition to vaccination, apply basic biosecurity from day one: limit visitor access, disinfect footwear before entering the coop, quarantine new birds for at least two weeks, and remove sick birds immediately to prevent spread. Never administer medication or vaccines without proper guidance on dosage and handling — consult a qualified professional for any suspected disease outbreak.
Step 8: Establish a Daily Management Routine
Quick answer: A consistent daily routine — checking feed and water, observing bird health, collecting eggs, and managing litter — catches problems early and keeps production steady.
- Check feed and water levels morning and evening.
- Observe birds daily for lethargy, reduced appetite, or unusual droppings.
- Collect eggs at least twice a day for layers to reduce breakage and contamination.
- Turn or replace wet litter regularly to control ammonia and parasite buildup.
Step 9: Plan Your Sales and Market Channels
Quick answer: Identify buyers — local markets, retailers, restaurants, or direct customers — before your birds reach maturity, so you’re not scrambling to sell a finished batch with no buyer lined up.
For broilers, timing sales around high-demand periods such as festive seasons can improve prices. For layers, building repeat relationships with a few reliable buyers often provides steadier income than depending entirely on open market prices, which can fluctuate.
Step 10: Track Records and Scale Gradually
Quick answer: Keep simple records of feed use, mortality, and production from day one, and only expand your flock size once you understand your actual costs and mortality patterns from a first successful cycle.
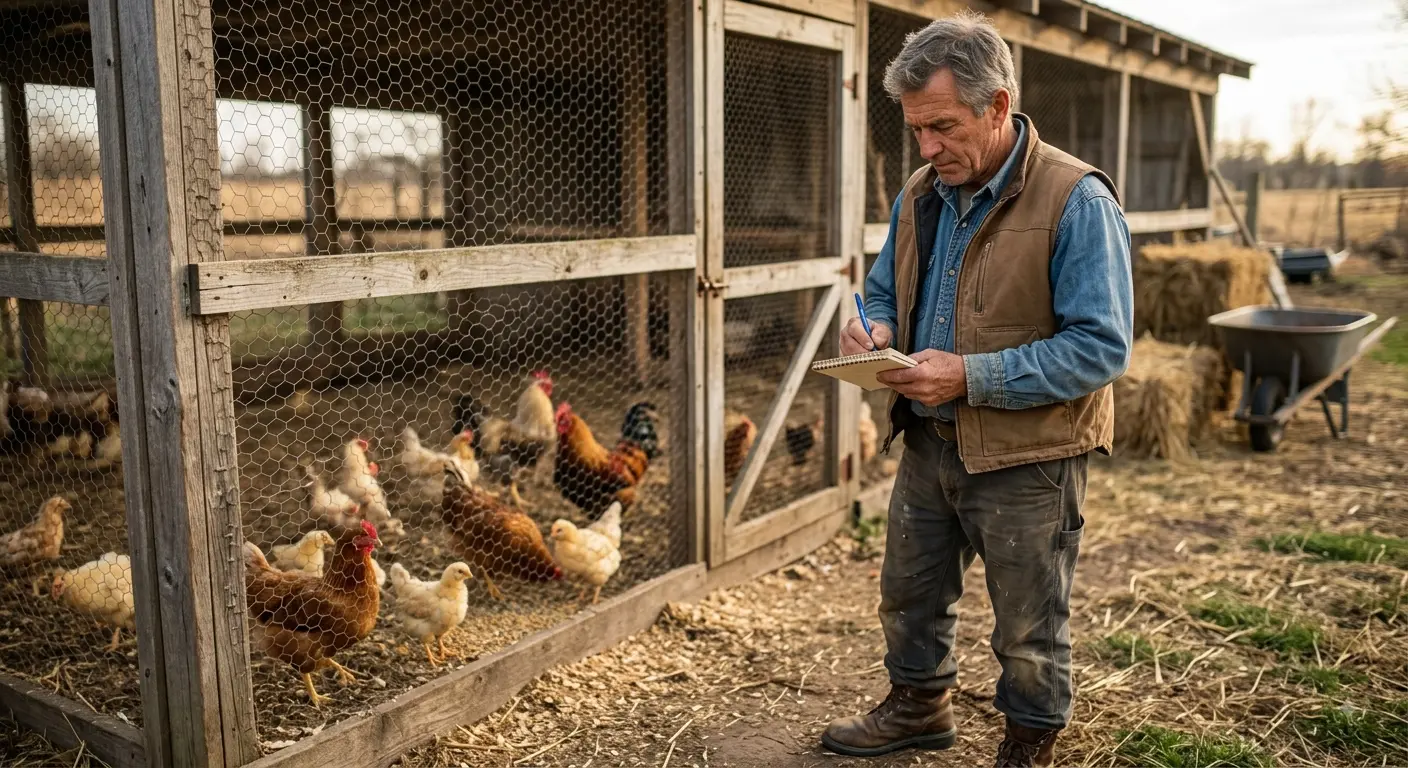
Many beginners scale too fast after one good cycle, only to find that mortality, feed costs, or market prices behave differently at a larger scale. Growing gradually — for example, doubling flock size only after two or three stable cycles — protects your capital while you refine your systems.
Sample Startup Timeline
| Timeframe | What to Do |
|---|---|
| Weeks 1–2 | Research regulations, market demand, and finalize your farming purpose |
| Weeks 3–4 | Secure land, build or prepare housing, source equipment |
| Week 5 | Order day-old chicks from a certified hatchery |
| Weeks 5–13 (broilers) | Feed, vaccinate, and manage birds through to market weight |
| Weeks 5–20+ (layers) | Raise chicks through grower stage to point of lay and beyond |
Frequently Asked Questions
What is the first step to starting a poultry farm?
The first step is deciding your farming purpose — eggs, meat, or both — since this decision determines your breed choice, housing design, and feed plan before you invest any money.
How much land do I need to start a poultry farm?
Land needs depend on flock size and system type. A small flock of 50–100 birds on deep litter can be housed on a modest plot, while free-range systems require additional secured outdoor space. Check local zoning requirements for exact minimums in your area.
How long does it take to set up a poultry farm from scratch?
Basic setup — housing, permits, and sourcing chicks — typically takes 4 to 6 weeks for a small-scale operation, though this varies depending on housing construction time and local hatchery availability.
Can I start a poultry farm without prior farming experience?
Yes, many successful poultry farmers start without prior experience by starting small, following a structured routine, and consulting local veterinary or agricultural extension services for guidance as questions arise.
What is the minimum flock size to start with?
Many beginners start with 50 to 100 birds, a size that’s manageable to monitor closely while still teaching realistic feeding, health, and record-keeping practices before scaling up.
Do I need a veterinarian to start a poultry farm?
You don’t need one on staff, but establishing a relationship with a local veterinarian or livestock extension officer before you start is strongly recommended for vaccination planning and disease response.
What is the biggest mistake beginners make when starting a poultry farm?
Buying chicks before housing, feed, and a market plan are ready is one of the most common and costly mistakes, often leading to overcrowding, disease, or unsold stock.
Conclusion
Starting a poultry farm is a manageable process when you follow it in order: define your purpose, prepare housing and permits first, source healthy chicks, and build consistent feeding, health, and record-keeping habits from day one. Rushing any of these steps — especially buying birds before you’re ready — is where most beginners lose money. Start with a flock size you can fully manage, learn from your first cycle, and scale only once your systems are proven.